There are always certain tools in each ceramic tile workshop, in which employees work on how to cook or skills that depend on making ceramic tiles. Since the clay is unmatured soft, passing it from one place to another has the risk of leaving the marks or distorting them.
The ability to create sculpture directly on the ceramic tile and then move it to the oven is attractive. Clay stones may be directly baked on ceramic tiles.
A good furnace or kiln is vital in this process! The tile may be placed directly on the stove or oven or in a covered pan before all are placed together in the oven. It is best to use a piece of white copy paper to prevent the shining spots from shining where the clay hits the tile, because the surface of the tiles is shiny. Paper can be put in the oven.
It does not burn even at 163 degrees centigrade. The tile is perfectly safe within the oven. But remember, because the tiles take time to warm up, and they cook up for a while.
This low-cost manual can help you to quickly find answers if you are having trouble cooking clay or having trouble breaking up or burning.
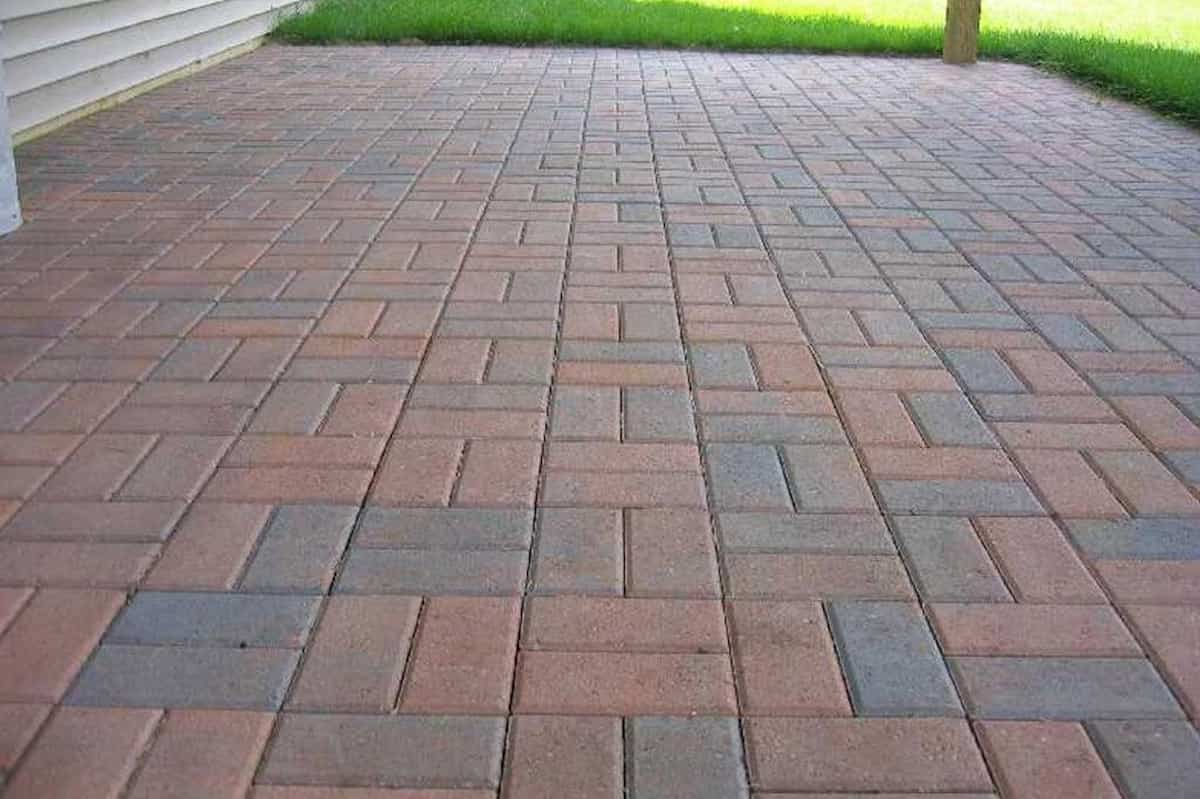
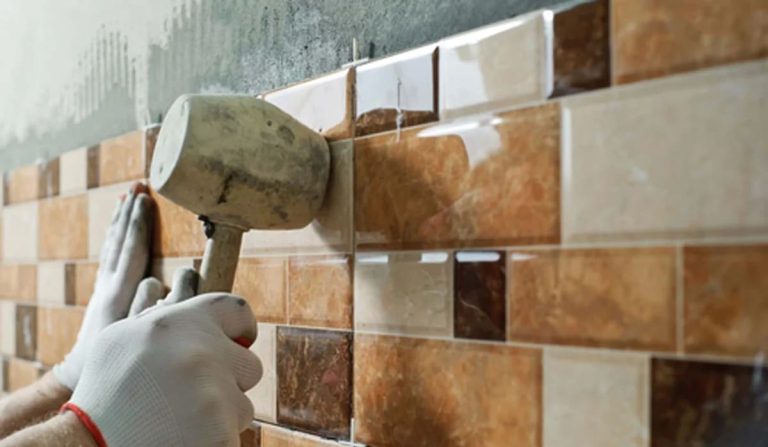
You should use a glossy and smooth finish for ceramic tile coating. Texture tiles aren’t working. Glazed tiles made of terta or mineral tiles are also not available. Tiles that are offered for wall bath do well.
They are also used in clean industrial rooms and on kitchen walls in restaurants. Different sizes are available for ceramic tiles. Typically, use of both 6 x 6′ (۱۵x ۱۵cm) and 8 x ۱۰ft (۲۰x ۲۵cm) are common tiles.
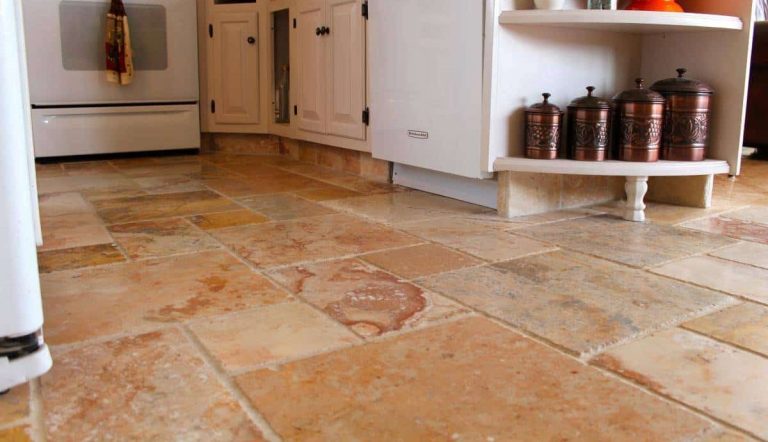
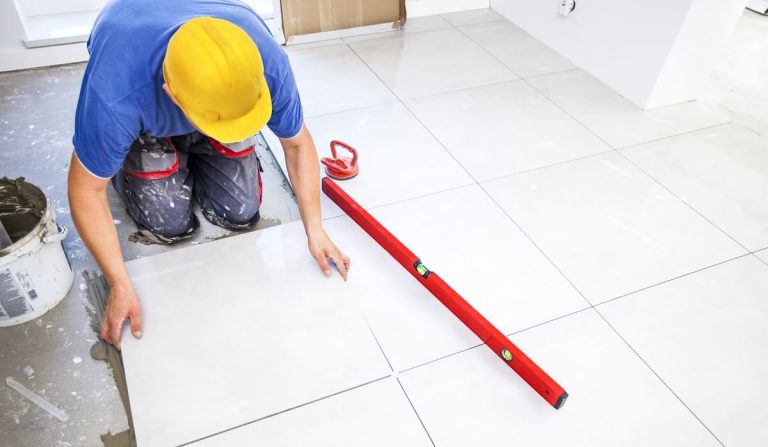
How to keep ceramic tiles flat
For the clay painters, keeping the ceramic tiles in the dry, and firing often has been a stress cause, and how keeping them is an important issue.
Over the years, experts have studied a lot about different topics related to tile, in order to make flat tiles, they’ve developed a method that significantly reduces the amount of movement required, and it’s actually flawless.
Use of deeply grown clay designed for sculpture or tile, not artificial clay, to start producing flat tiles. Since too much water causes the clay to dry slowly and cause it to leak, I want my clay to be dry on dry, hard soil.
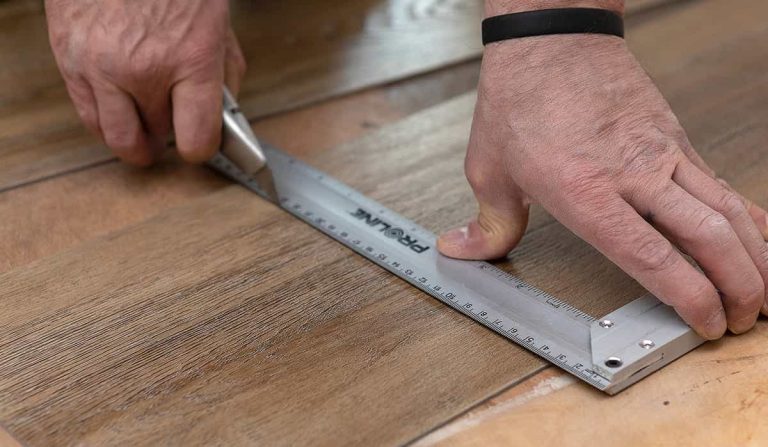
Most of the tiles on my floor are molded with plaster cast molds, but if you don’t want to use the mold, you can easily use wooden rangefinders or dails to the drilled wall to achieve the desired thickness (false wall creates a great level of work, just make sure to seal all the edges with adhesive tape that contains that dirty false wall dust).
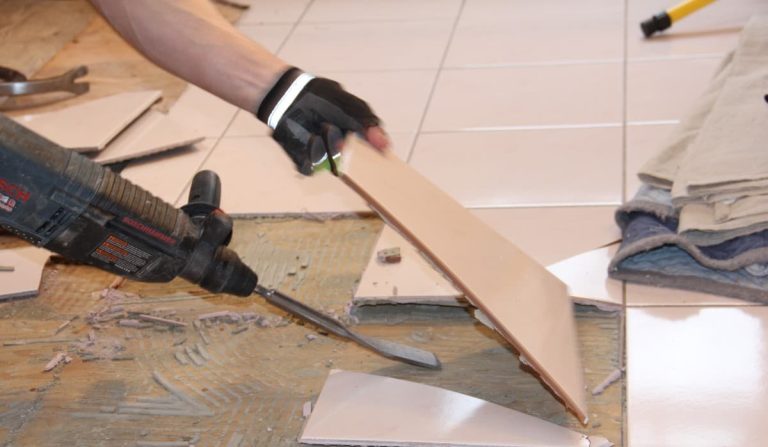
I choose tiles that are half an inch thick. When the rocks are thrown out, they must not be moved, lifted, or turned.
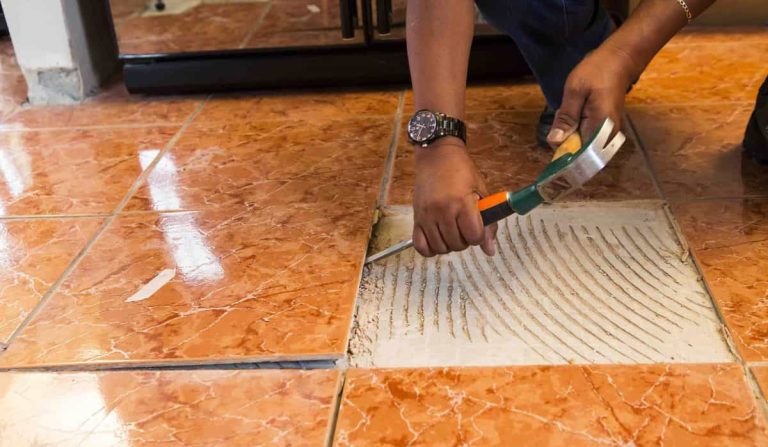
If the clay is moved, its “chemical memory” is left behind, causing it to be fully deformed, bent, or reshaped during the drying and firing process. Simply use a knife or a pattern to correct and cut the rocks while they are still in place.
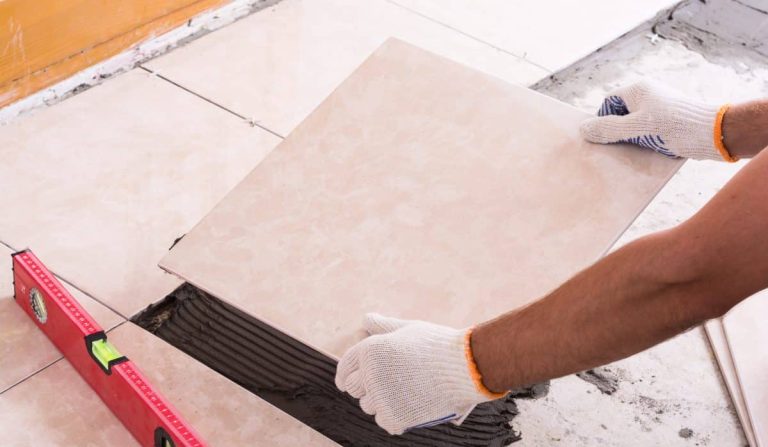
It is important to place the wet tiles on a false wall 8-12 hours after the cut. The application of dry wall causes moisture to the clay content and the tiles are rigid.
The tiles should look like leather until the next day and be stiff enough to handle them without bending. See if it’s possible to safely remove a tile. Trim or straighten edges at this time.
How to make tiles at home
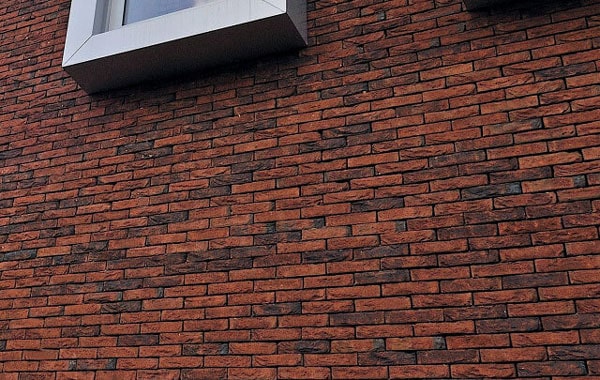
Glazed or ceramic tiles have been used worldwide for thousands of years. However, the basic concept of how to create these tiles in the home or workshop has not changed, technical advances have led to a significant change in the production line.
The main steps in creating ceramic tiles in a house are. Step 1: Raw materials of ceramic tile. The manufacturer begins by collecting a variety of raw materials.
White clay, silica, sand, feldspar, illegal clay or kaolinite, dolomite, and calcite are common materials for making ceramic tiles.
They will also transfer these materials to production facilities where they will be stored separately. Second step: Mixing and forming the manufacturer then accurate weight of the raw material mixture.
The manufacturer adjusts the speed of each conveyor to produce the desired compound first before the main conveyor collects everything for the next step.
This mixture is then deposited to the storage tank by conveyor. In a collection of mixed tanks filled with water and ceramic balls. Third, screening and glazing glaze have functional and aesthetic applications. It enables the tile to develop toughness, water resistance and visual appeal. Screening and glazing are useful for sanitary houses.
The manufacturer first applies a pattern and color using the roller display. A manufacturer may extend the line with an additional roller screen to provide more design diversity. 4. Start shooting.
The tile is burned in the oven after the producer cursed it. Although there are other types of furnaces, it is probably the most efficient roller kiln.
The temperature, cleanliness and thermal efficiency of this furnace is exceptional. The final product is then examined to look for any defects to guarantee its quality. Calibration, shading, quality of tiles are done by mechanical and human methods.
Ceramic tile for polymer clay
Ceramic tile is very consistent when used as working surface.
When working with polymer porcelain, because of the large amount of “catch” that it has, it won’t slip out from under your tool. The surface of the ground is perfectly smooth and there is no roughness on your clay surface.
Tools such as cutting or tool needles cannot damage hard tiles. It also works well with polymer clay on this ceramic tile and made of polymer clay.
The best table tool is made into the oven! Floor tiles and walls may be placed directly on the entrance surface or inside a covered pan before placing all in the oven.
Because the surface of the tile is shiny, you can use the flat finish to decorate your clay after cooking or you can use the shiny pieces that the clay will go into tiles. The clay environment is very flexible.
In order to study the foundations of this part, such as the equipment required for success and also how to set up the clay workspace for beautiful creativity, you need success. Now let’s start building and breeding. Let’s talk more about polymer clay before we add tasks to your task list.
polyvinyl chloride (PVC) is a non-toxic plastic that is used to make polymer clay. To make clay easier to operate, businesses are giving it more features.
There are companies that even offer liquid clay. The various properties of any polymer-soil mixture can help your creation.
You learn by experiment that some are excellent at homogenizing, while others are extraordinary at recording minute details. This new friendly package will help you test and explore polymer clay that is best suited to your creative preferences.