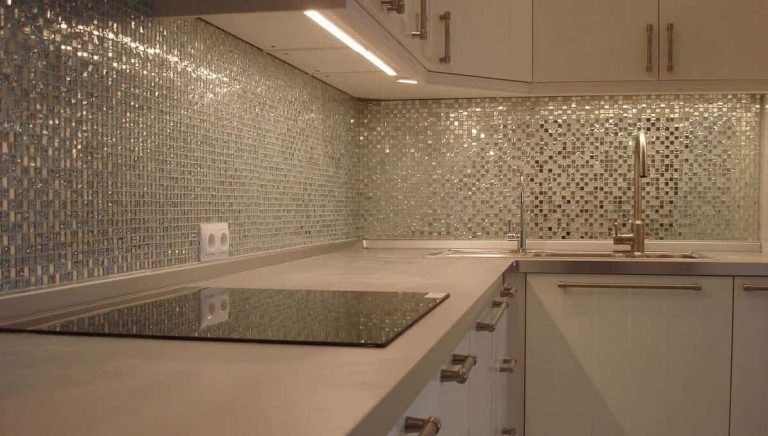
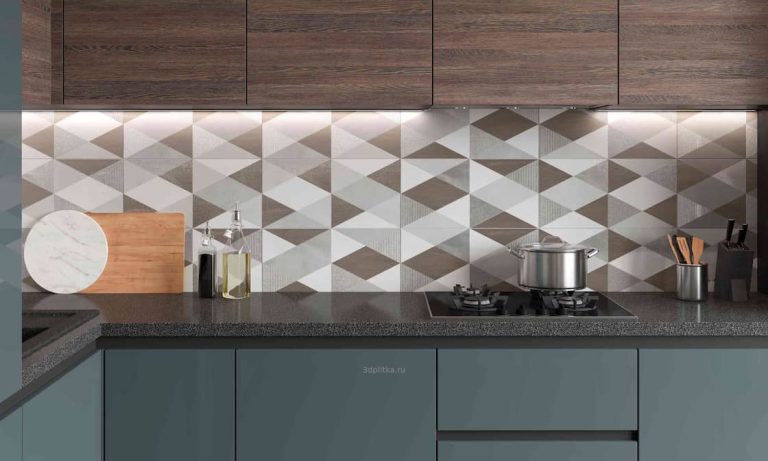
Covering the backsplash with tiles is one of the easiest and least expensive DIY ways to modernize an old, worn-out kitchen. You can choose from a wide range of attractive ceramic tiles, including the easy-to-install mosaic tiles seen here.
Mosaic tile offers more visual appeal per square inch than any other kitchen backsplash option. Consequently, if your kitchen looks drab, add instant style with kitchen backsplash tiles.
Because the small tiles fit on 12-by-12-inch panels, installing a backsplash is quick.
Tile may be installed on Saturday and grout on Sunday. We chose slate tiles that sometimes crack when cut. Other types of mosaic tiles, especially ceramic tiles, are easy to cut.
This post shows how to install tile panels. You will need tile tools such as a 3/16-inch trowel and grout float, available at home improvement stores and tile dealers.
In addition, you will need a grout sealer, high-quality grout, and mastic adhesive. You can rent a wet saw to cut the tiles. Before installing the tile, remove oil stains from the wall, as grease prevents the mastic from adhering.
Stains can be removed with a sponge dipped in a mixture of water and mild dishwashing detergent (such as Down). To make the surface more responsive than mastic, if stains are heavy or stubborn, use a paint polisher using a lint-free cloth or abrasive pad.
Deglosser is available at paint and home improvement stores. Then, cover the upper cabinets whose sides and tables will be tiled. Leave a 1/4 inch gap between the wall and the strip for the tile.
Cover surfaces with drop cloth or newspaper. Remove the outlet covers and turn off the power. Make sure the power is off using a non-contact voltage detector.
Place the output extenders in the output box. The National Electrical Code requires that extenders be installed when boxes are more than 1/4 inch from the wall.
If there isn’t enough tile opening, it’s easier to install extenders and cut tile to accommodate them than to add them later. Install the extenders as a guide to tile placement.
They will be removed later for injection. To avoid cutting the tile, measure three or four full rows of tile from the top of the backsplash on the wall behind your stove and place a mark there.
Attach a piece of scrap wood (office board) to the wall in the area between the cabinets. Your starting point for wall tiling will be the space between the range and the hood, which is often the largest and most visible to home chefs.
Draw a line in the middle of the wall between the cabinets and the ventilation hood. Measure from the center line to the cabinets. If you want to cut the tile differently, move the center line slightly so you only cut the back of the mesh.
diy kitchen backsplash
Backsplashes have the ability to drastically change the look of a kitchen, but they don’t need to be expensive to install, however you can use a DIY method to do it.
There are several inexpensive backsplash options, including cladding, tile, wallpaper, and more. Use these inexpensive ideas to help you choose the best materials for your remodeled kitchen.
Traditional tiles can be difficult to install on kitchen backsplashes, but peel and stick tiles can be installed in a fraction of the time. No grout is required as the backing is self-adhesive and may be applied directly to the wall.
Due to the variety of patterns available, it is possible to copy the look of an expensive tile backsplash without paying the price.
Many of them can be purchased for a few dollars per square foot at home improvement stores, where they are available in a wide variety of designs and patterns.
Because a number of individual tile rows are glued to each mesh backing sheet, it’s quick and easy to install an entire square foot at a time. Instead of getting a new backsplash for your kitchen, consider updating the one you already have.
Using color is a quick and easy way to add character to a tile. Using a stencil, create flawless patterns that are a true representation of expensive cement tiles.

Epoxy paint or paint made specifically for tile will provide the best results when painting tile. Wallpaper may be used as an alternative to tile to provide a patterned accent to your backsplash and save you the hassle of installing tile.
Terrazzo-themed wallpaper is available at a fraction of the cost of the expensive material it imitates, Terrazzo. Look for water-resistant wallpaper to protect against stains.
By using white washed horizontal boards, a neutral background can be created in a kitchen with vivid colors.
The panels add enough visual interest to the wall to prevent it from becoming boring. If you want to make this backsplash design more affordable, you can save money by buying sheets of plywood, cutting, painting, and gluing the boards.
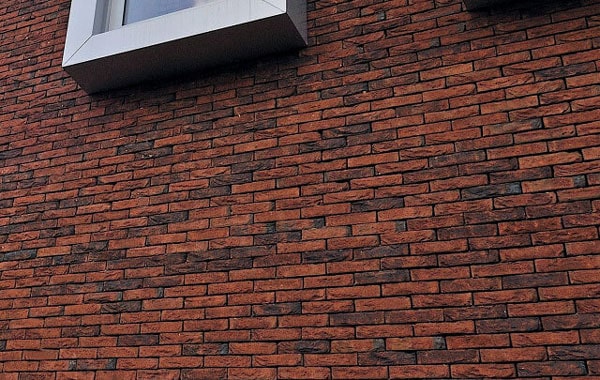
The classic appearance of subway tiles allows you to have an attractive and practical effect in your kitchen. Very affordable backsplash tiles are often laid horizontally in staggered rows.
By placing the tiles diagonally, you can create a stunning herringbone pattern that gives the area a contemporary look. Your kitchen backsplash is a wonderful opportunity to add character to the room.
Be creative with the materials and patterns you use to show off your sense of style. These kitchen backsplash ideas may result in a unique installation.
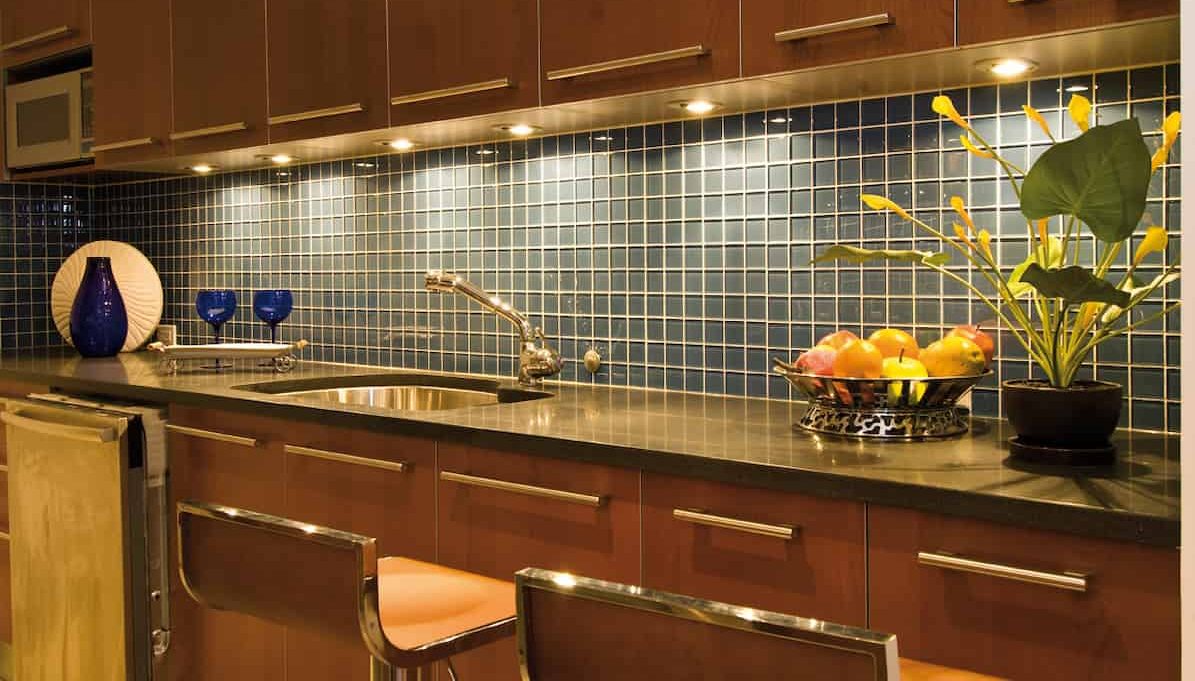
The current selection of glass tiles includes a wide variety of inexpensive types that may be used to create a stylish and affordable backsplash.
Depending on the square footage of the area you choose to tile, you can install a back layer of glossy glass tile.
To save money, mix them with cheaper materials like stone or ceramic tiles. If you hire a professional to install your backsplash, installation may be the most expensive aspect of the process.
To save money, you should teach yourself how to tile your backsplash. The following easy suggestions simplify the process.
Even though tiles are a common backsplash material, you don’t have to go to great lengths to get the look of a backsplash.
The use of peeling artificial tiles reduces the time and effort required for grouting and tiling, as well as the overall cost of the project.
These self-adhesive imitation tiles are resistant to heat and moisture and can be easily removed after a year or two if you decide to change the design of your room.
For more guidance on DIY tiling your backsplash, please contact our sales managers.